Tech Hub Assembly
This step-by-step guide will come in handy anytime you need to disassemble and reassemble your Tech Hub, whether it is pairing the electronics to their app or adding the touch control blocker!
How to open your Cubby Tech Hub
Step 1:
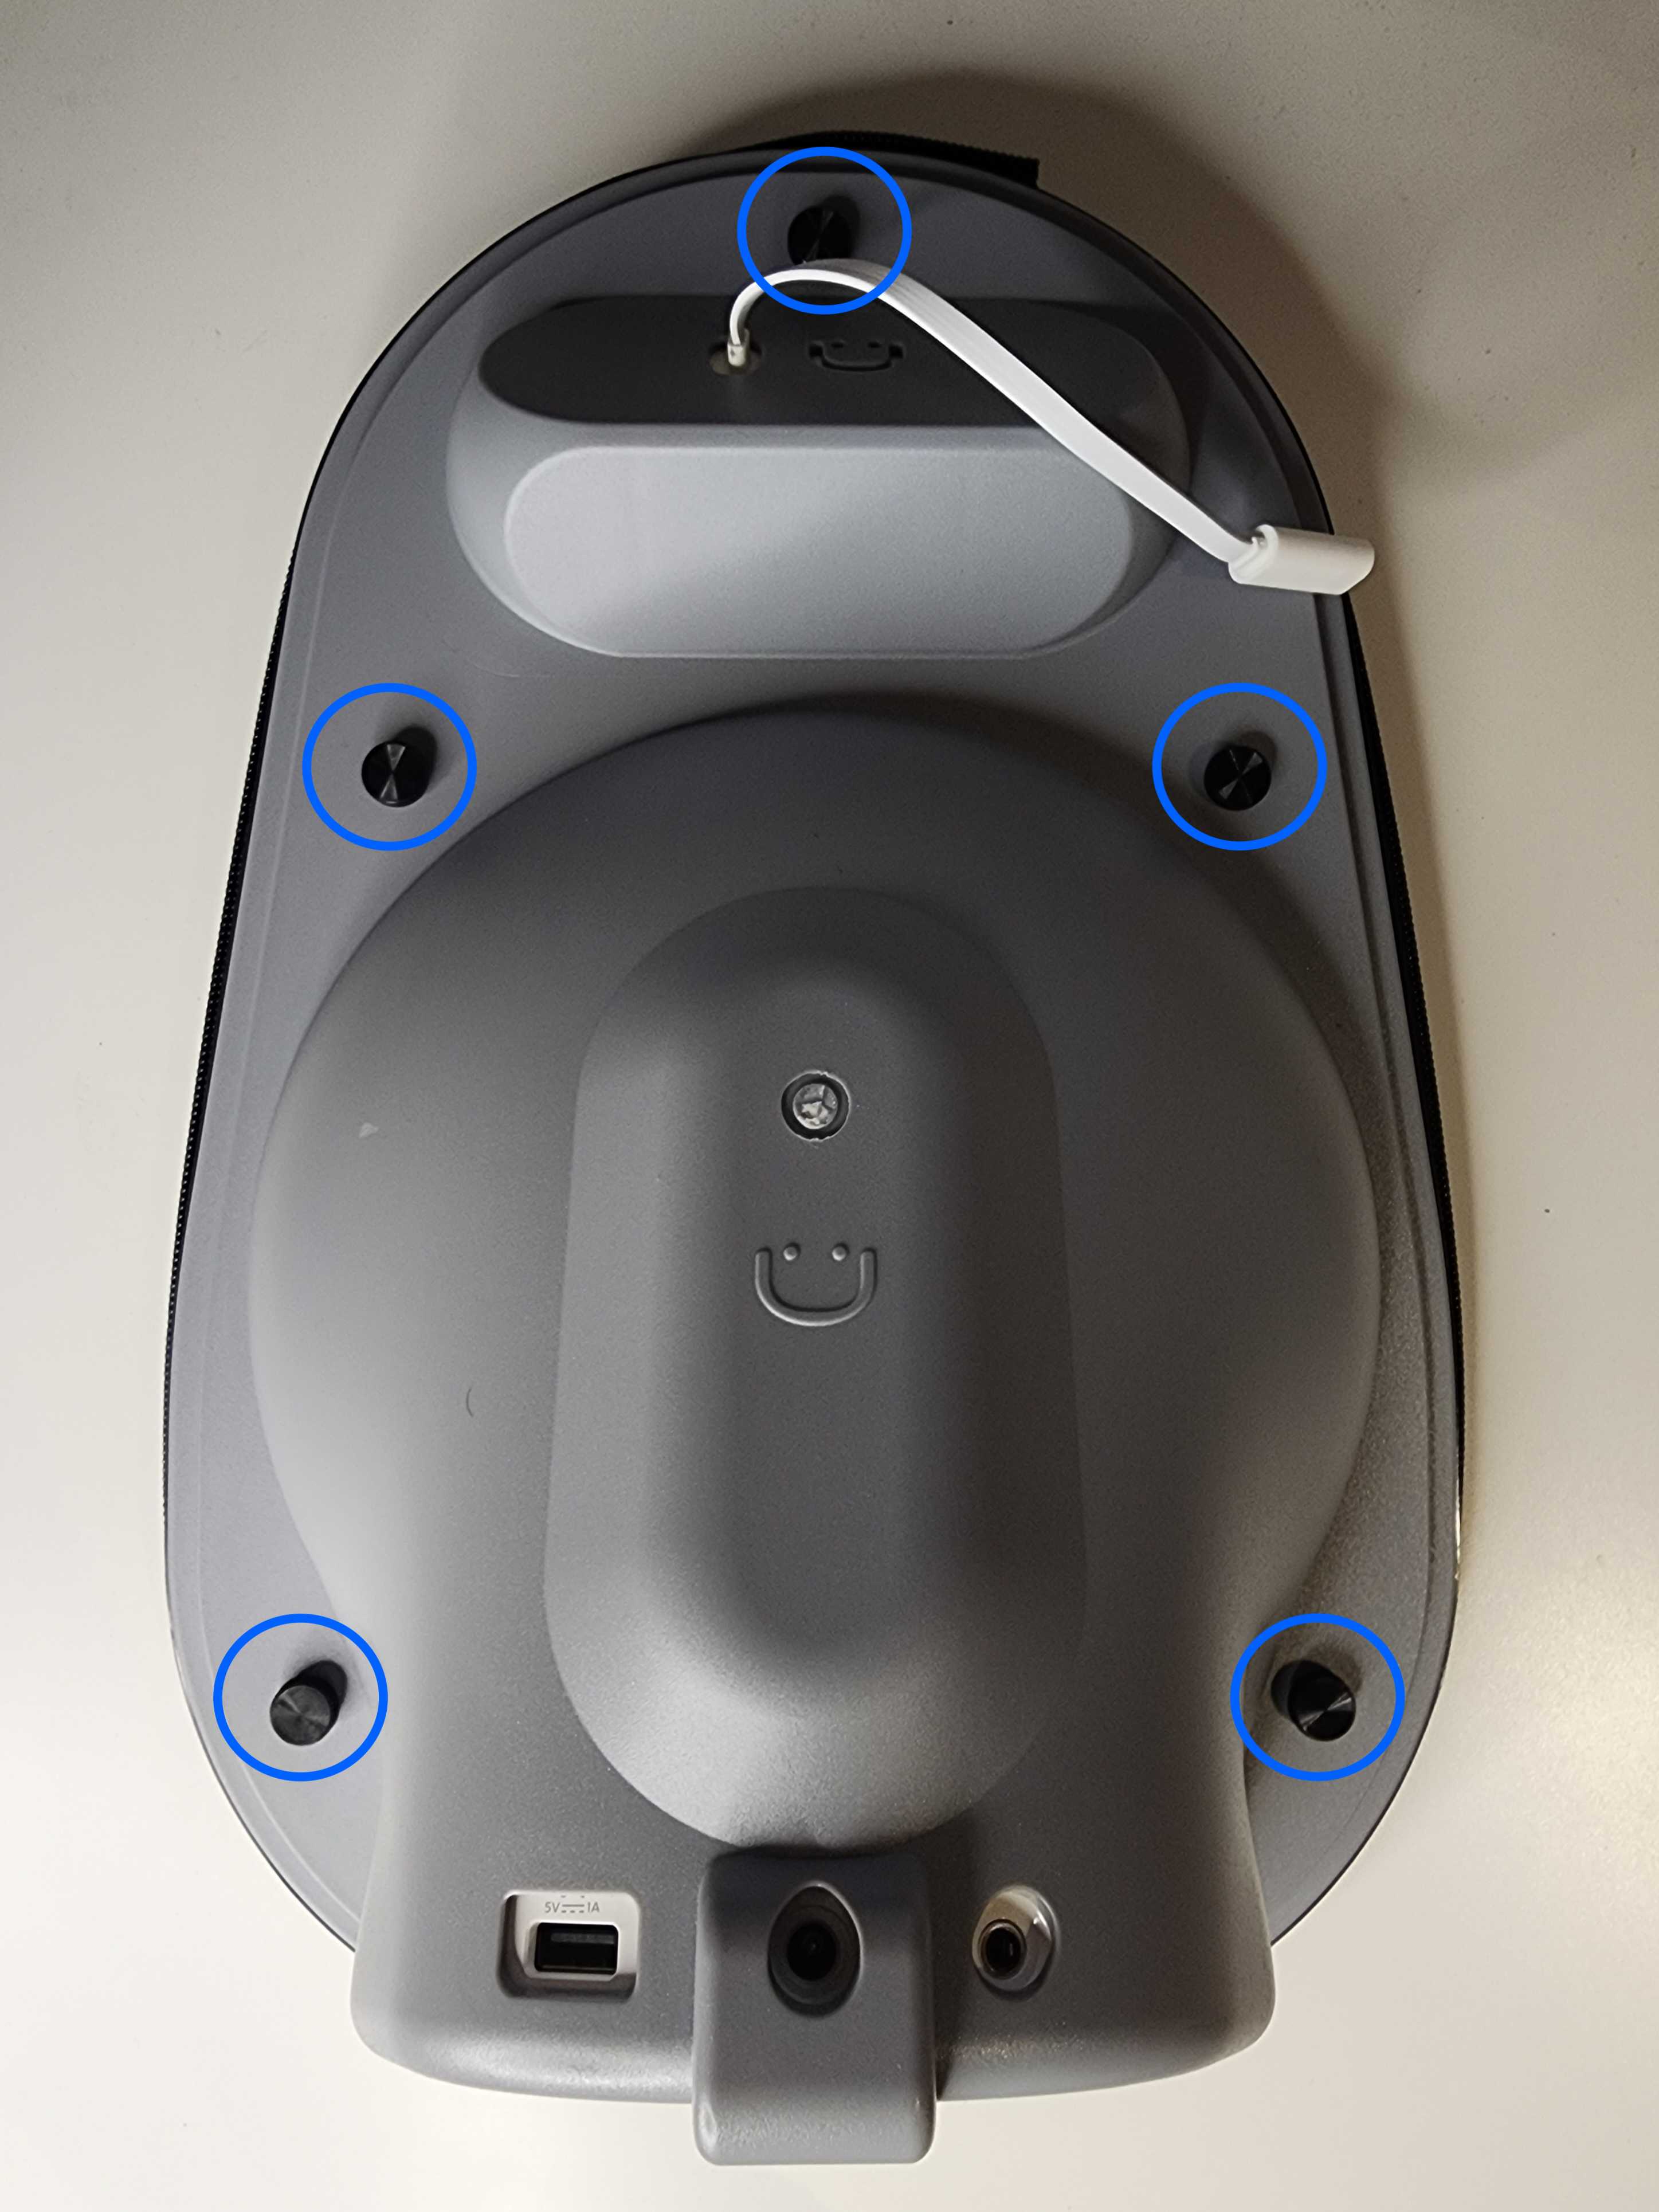
With your Tech Hub lying face down, remove the five (5) thumbscrews from the back casing and set them aside.
Step 2:
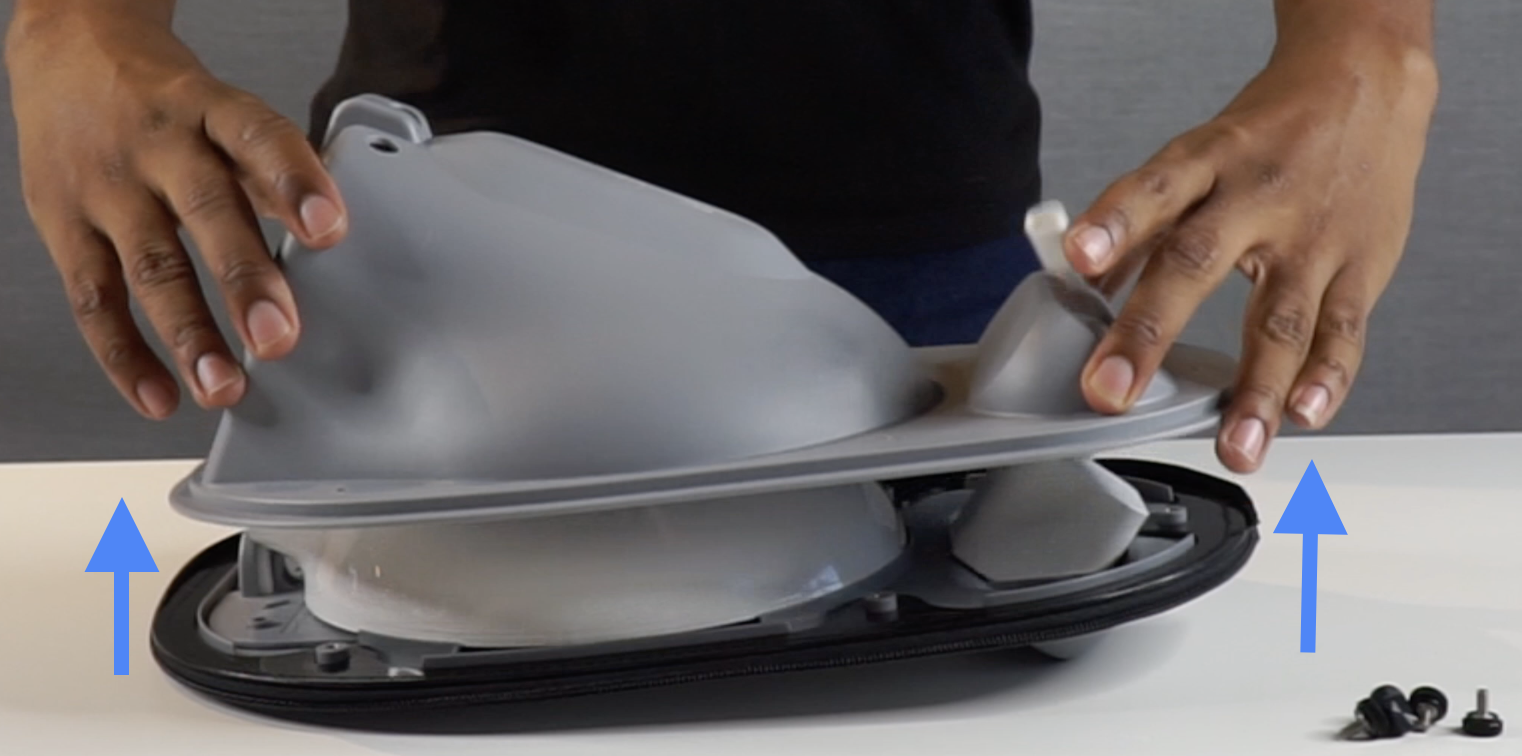
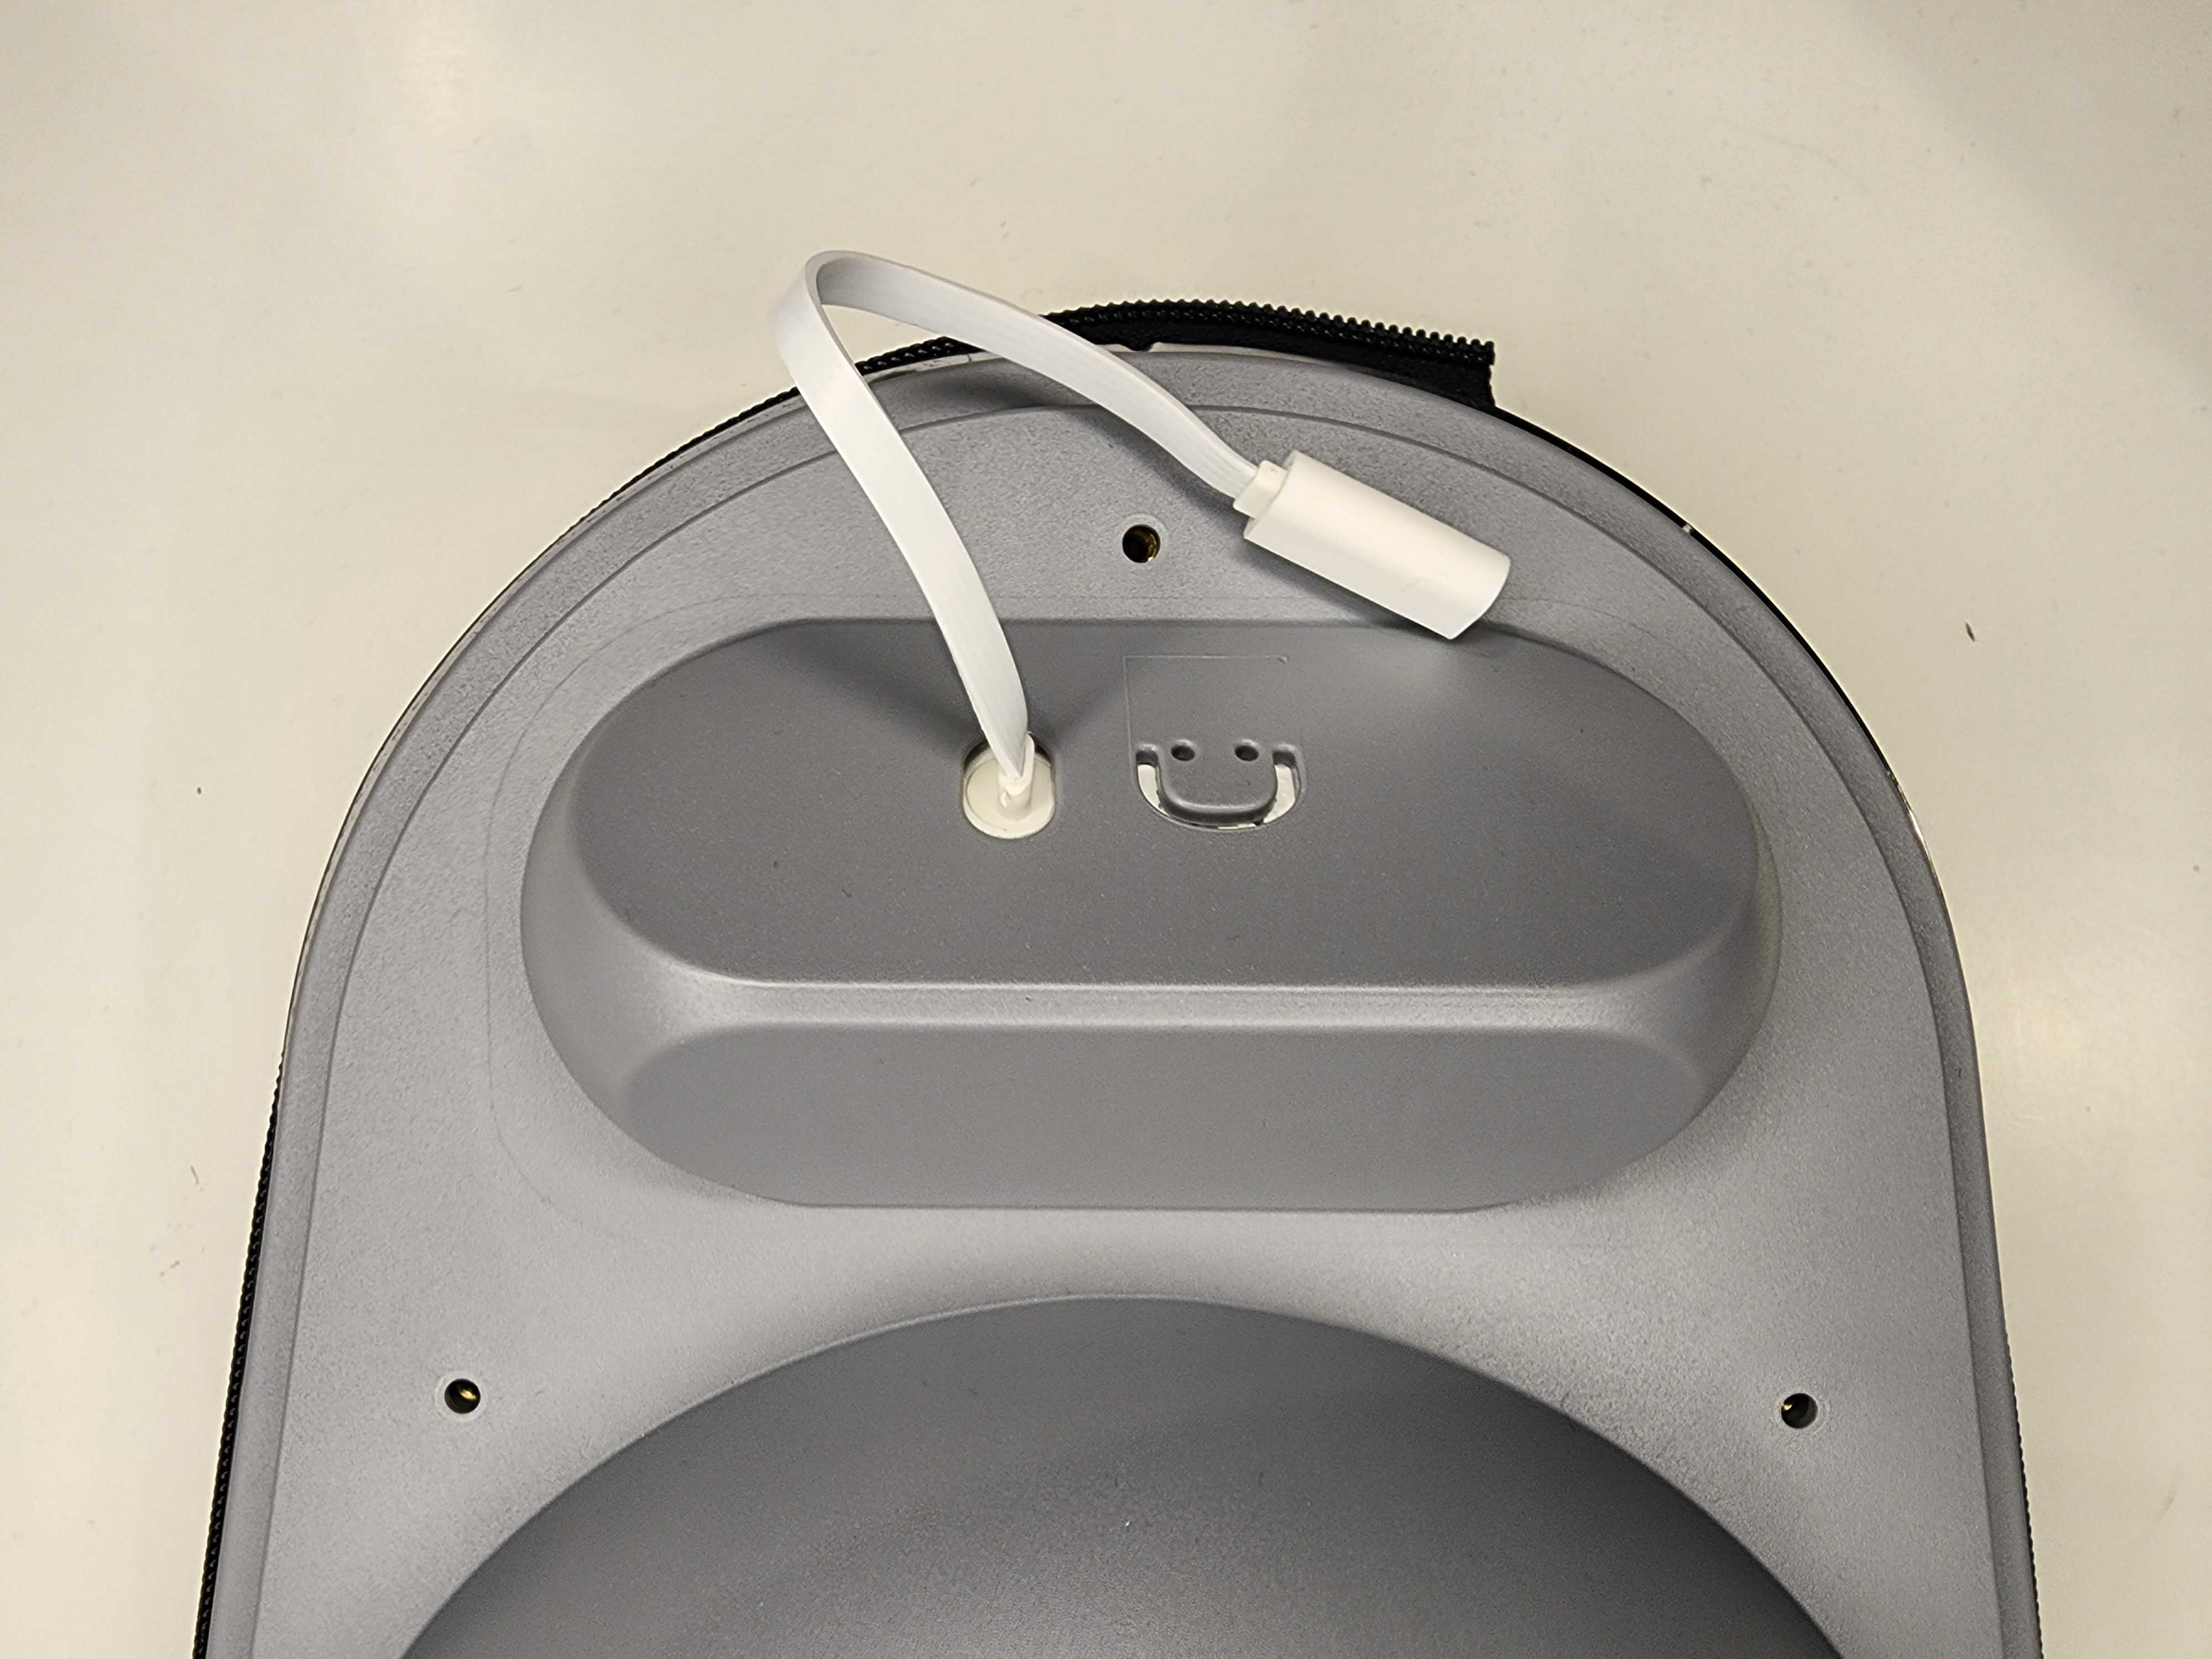
Lift and remove the back shell of the Tech Hub, pulling the camera’s power cable connector through the hole in the back shell to fully remove it.
You are now ready to connect the electronics to their applications.
Camera Setup
Sleep & Wake-up Light
How to put the Tech Hub back together
Once your camera and light are connected to their apps, we can put the Tech Hub back together.
Step 1:
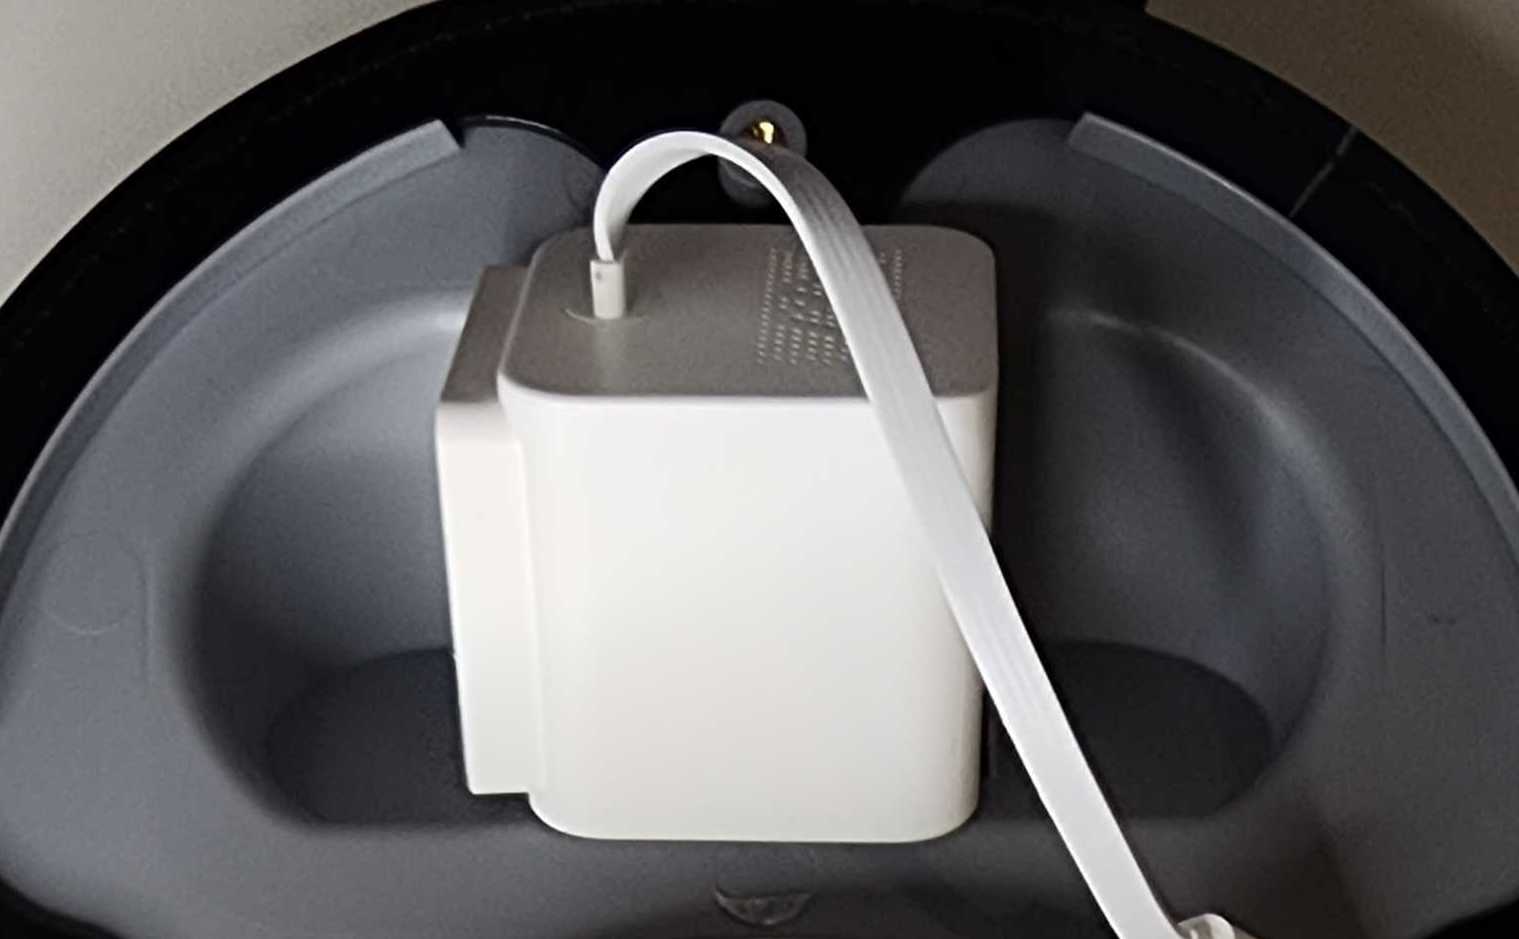
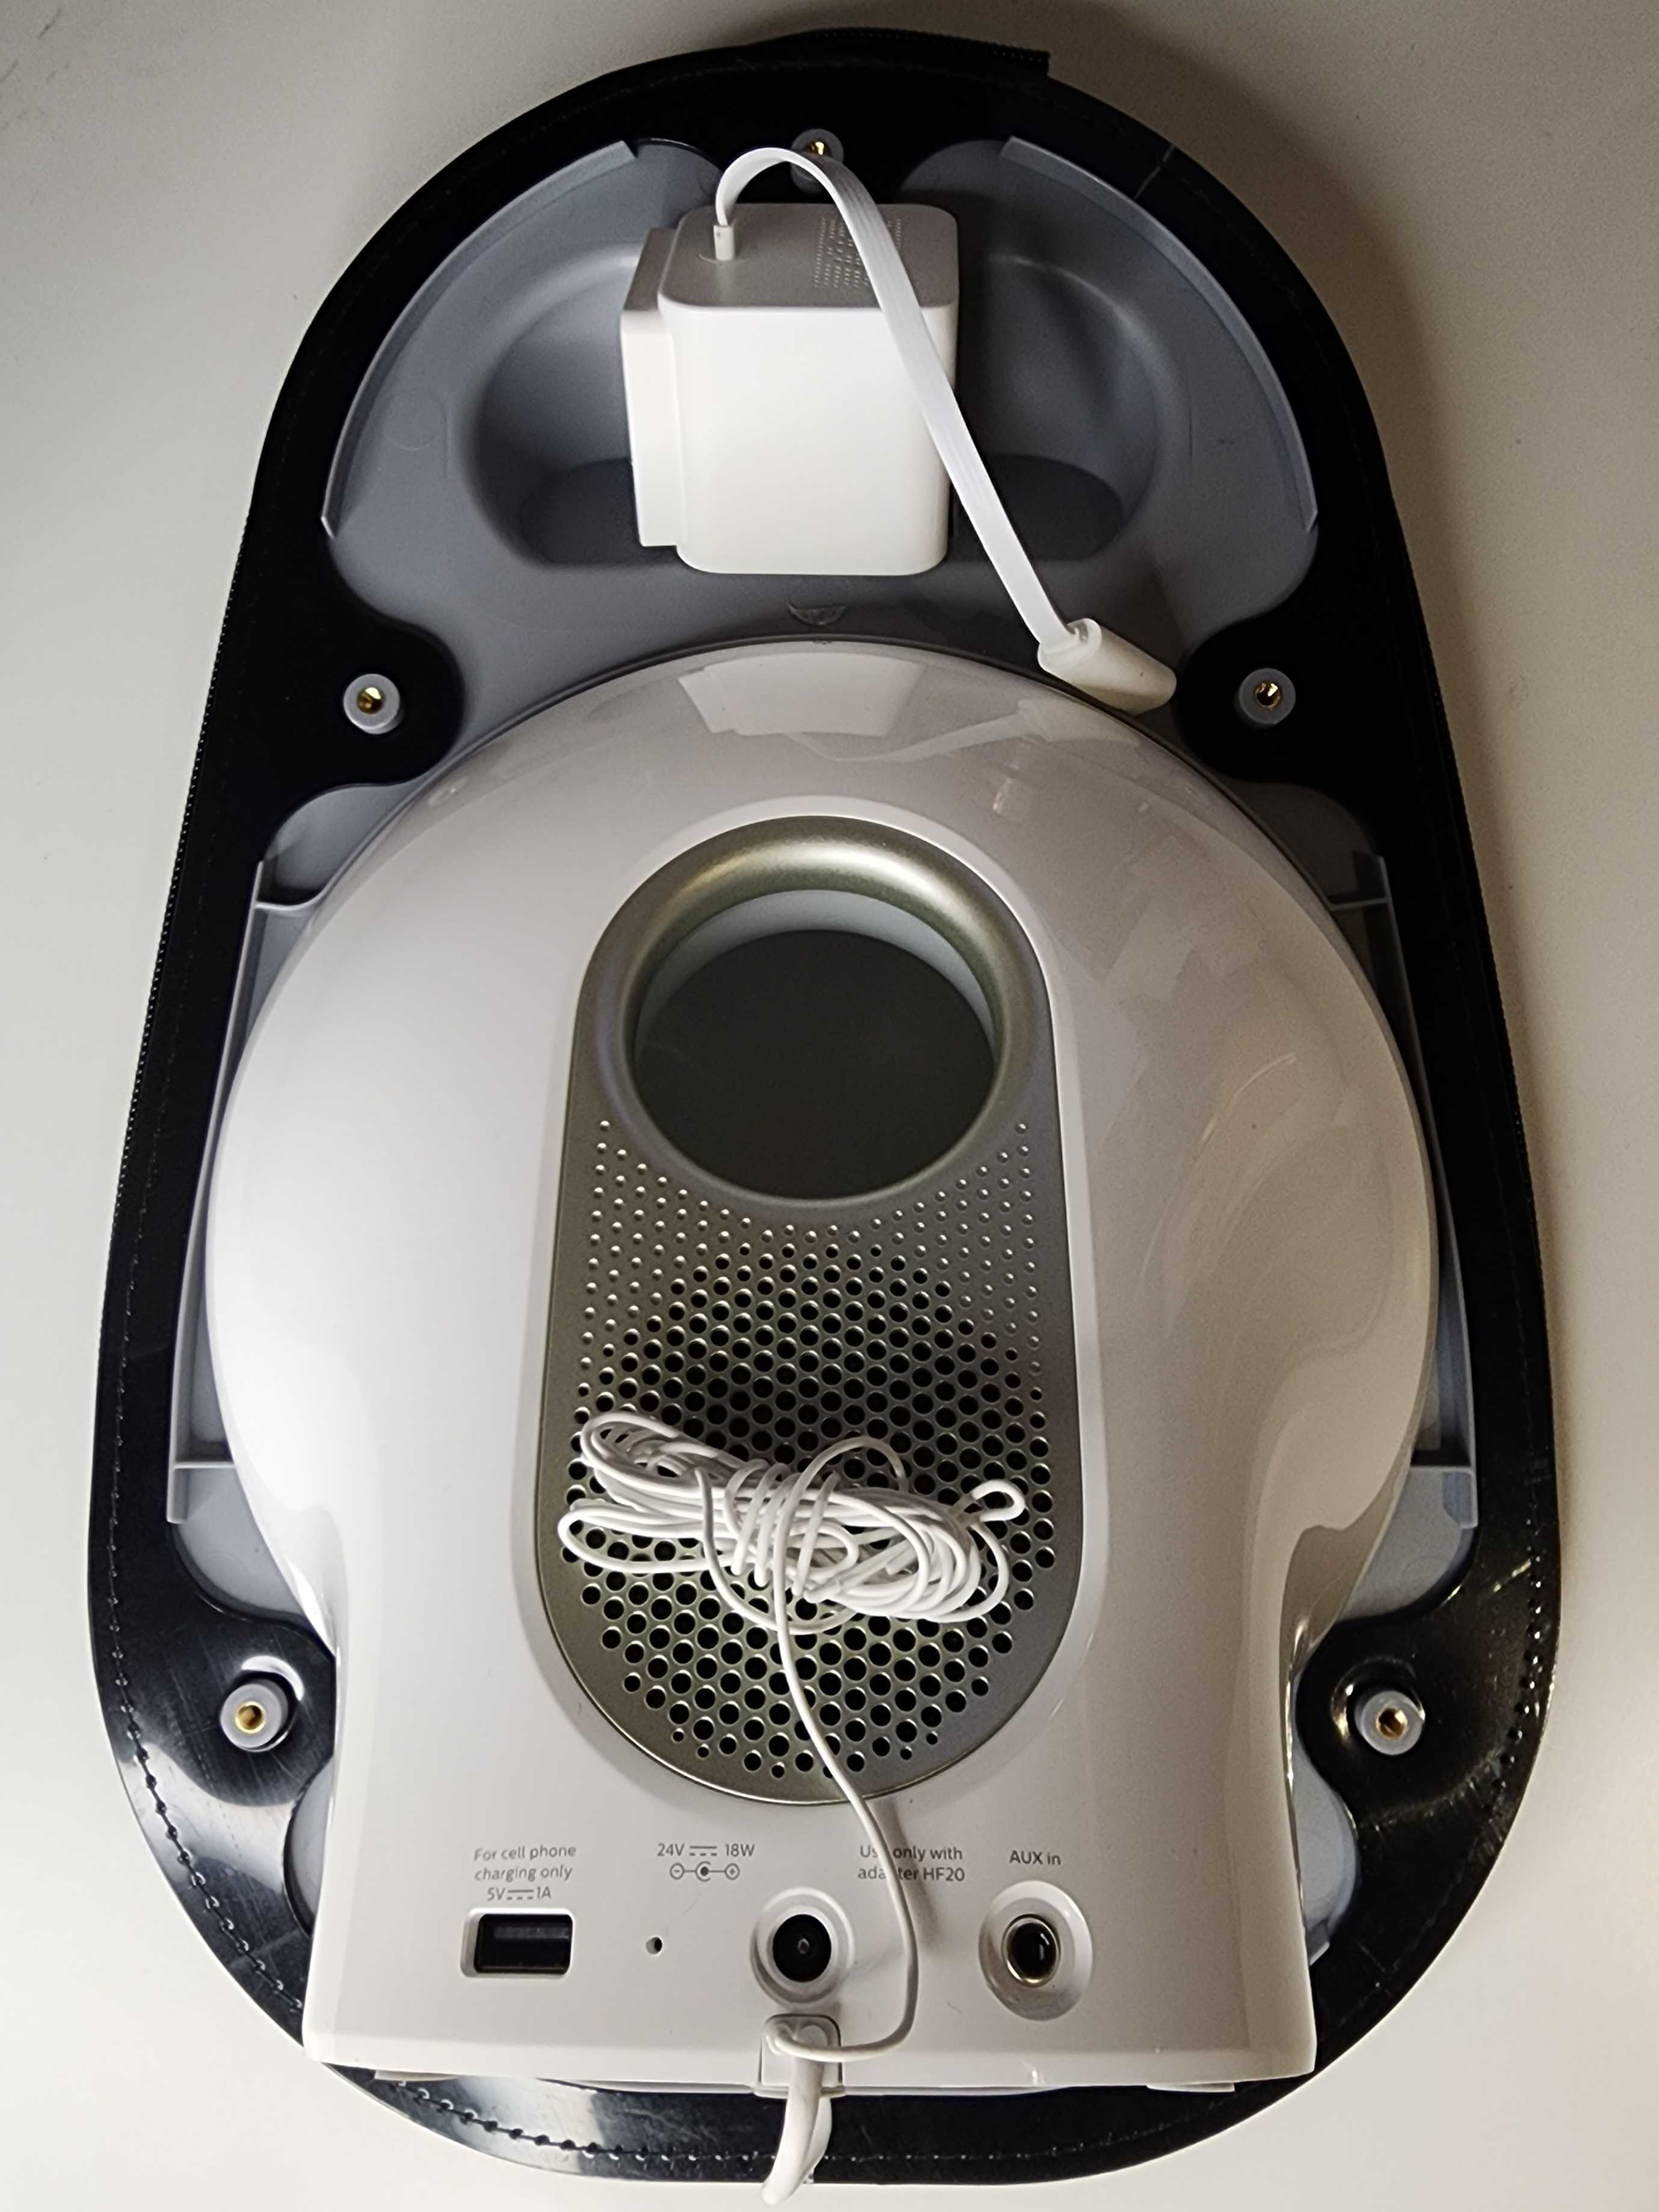
Insert the camera and make sure it is sitting fully in the front shell.
The camera will be sitting sideways as shown above.
Step 2:
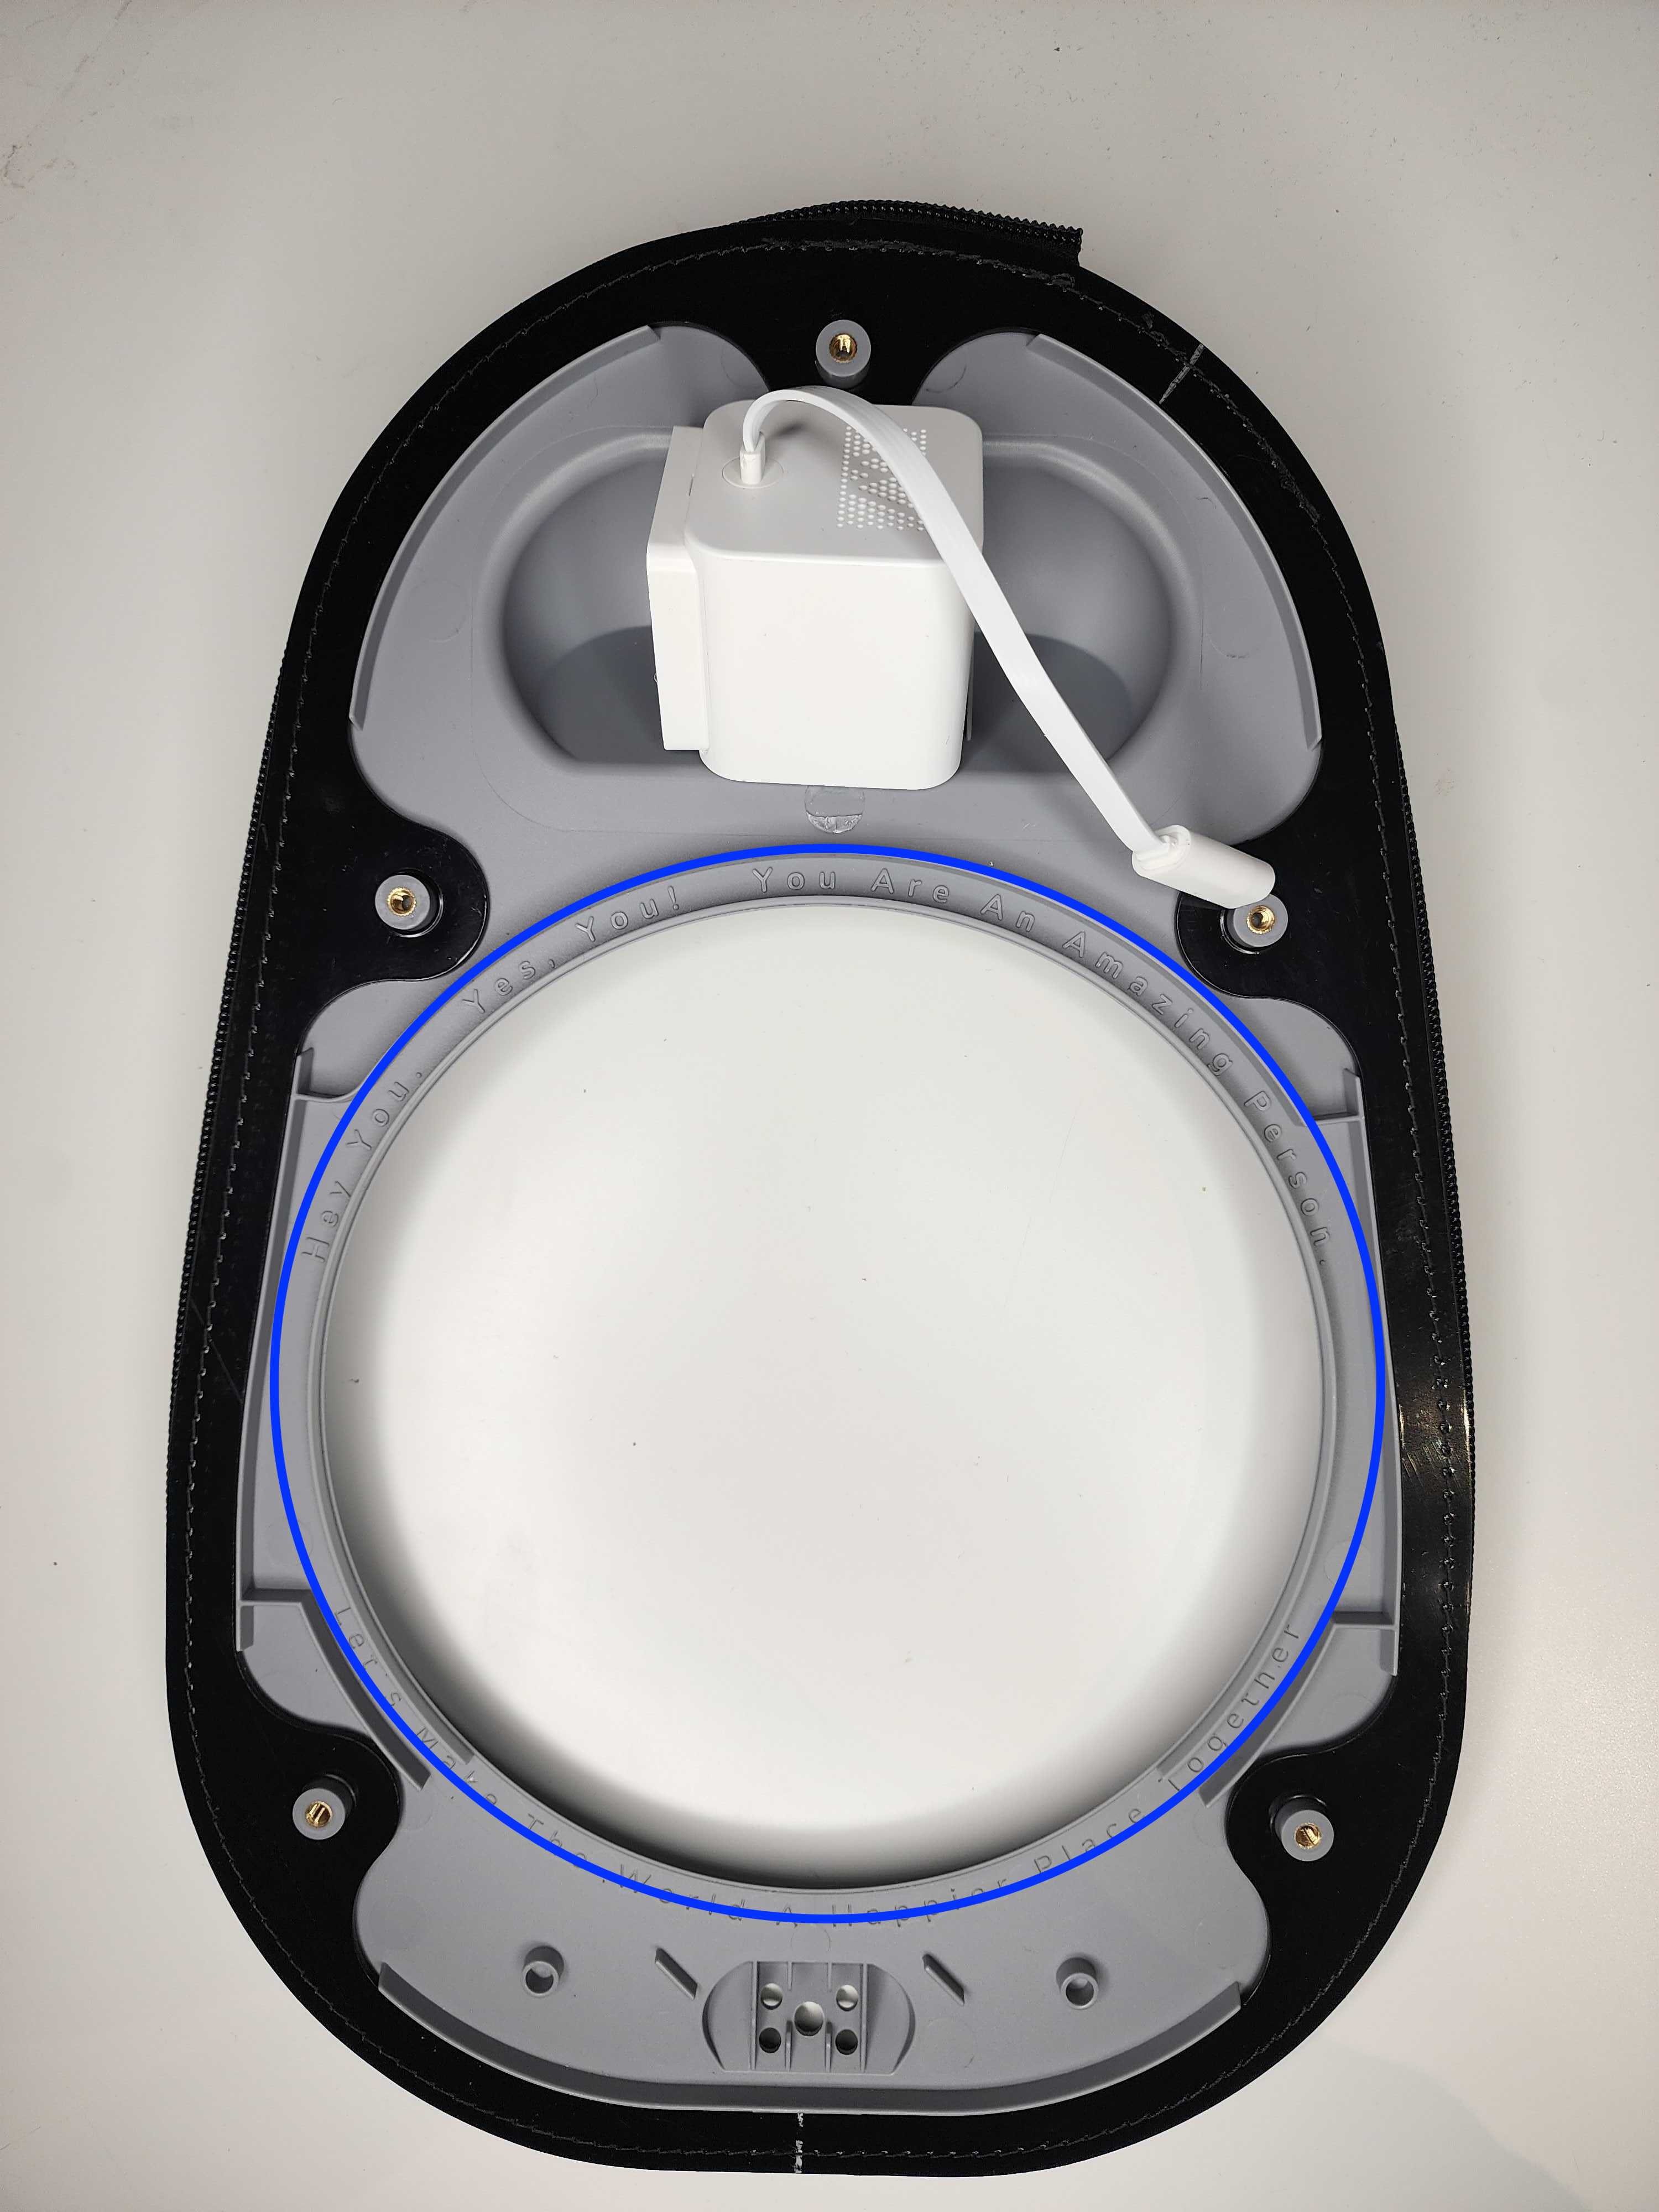
Place the circadian face down into the circle slot on the front shell.
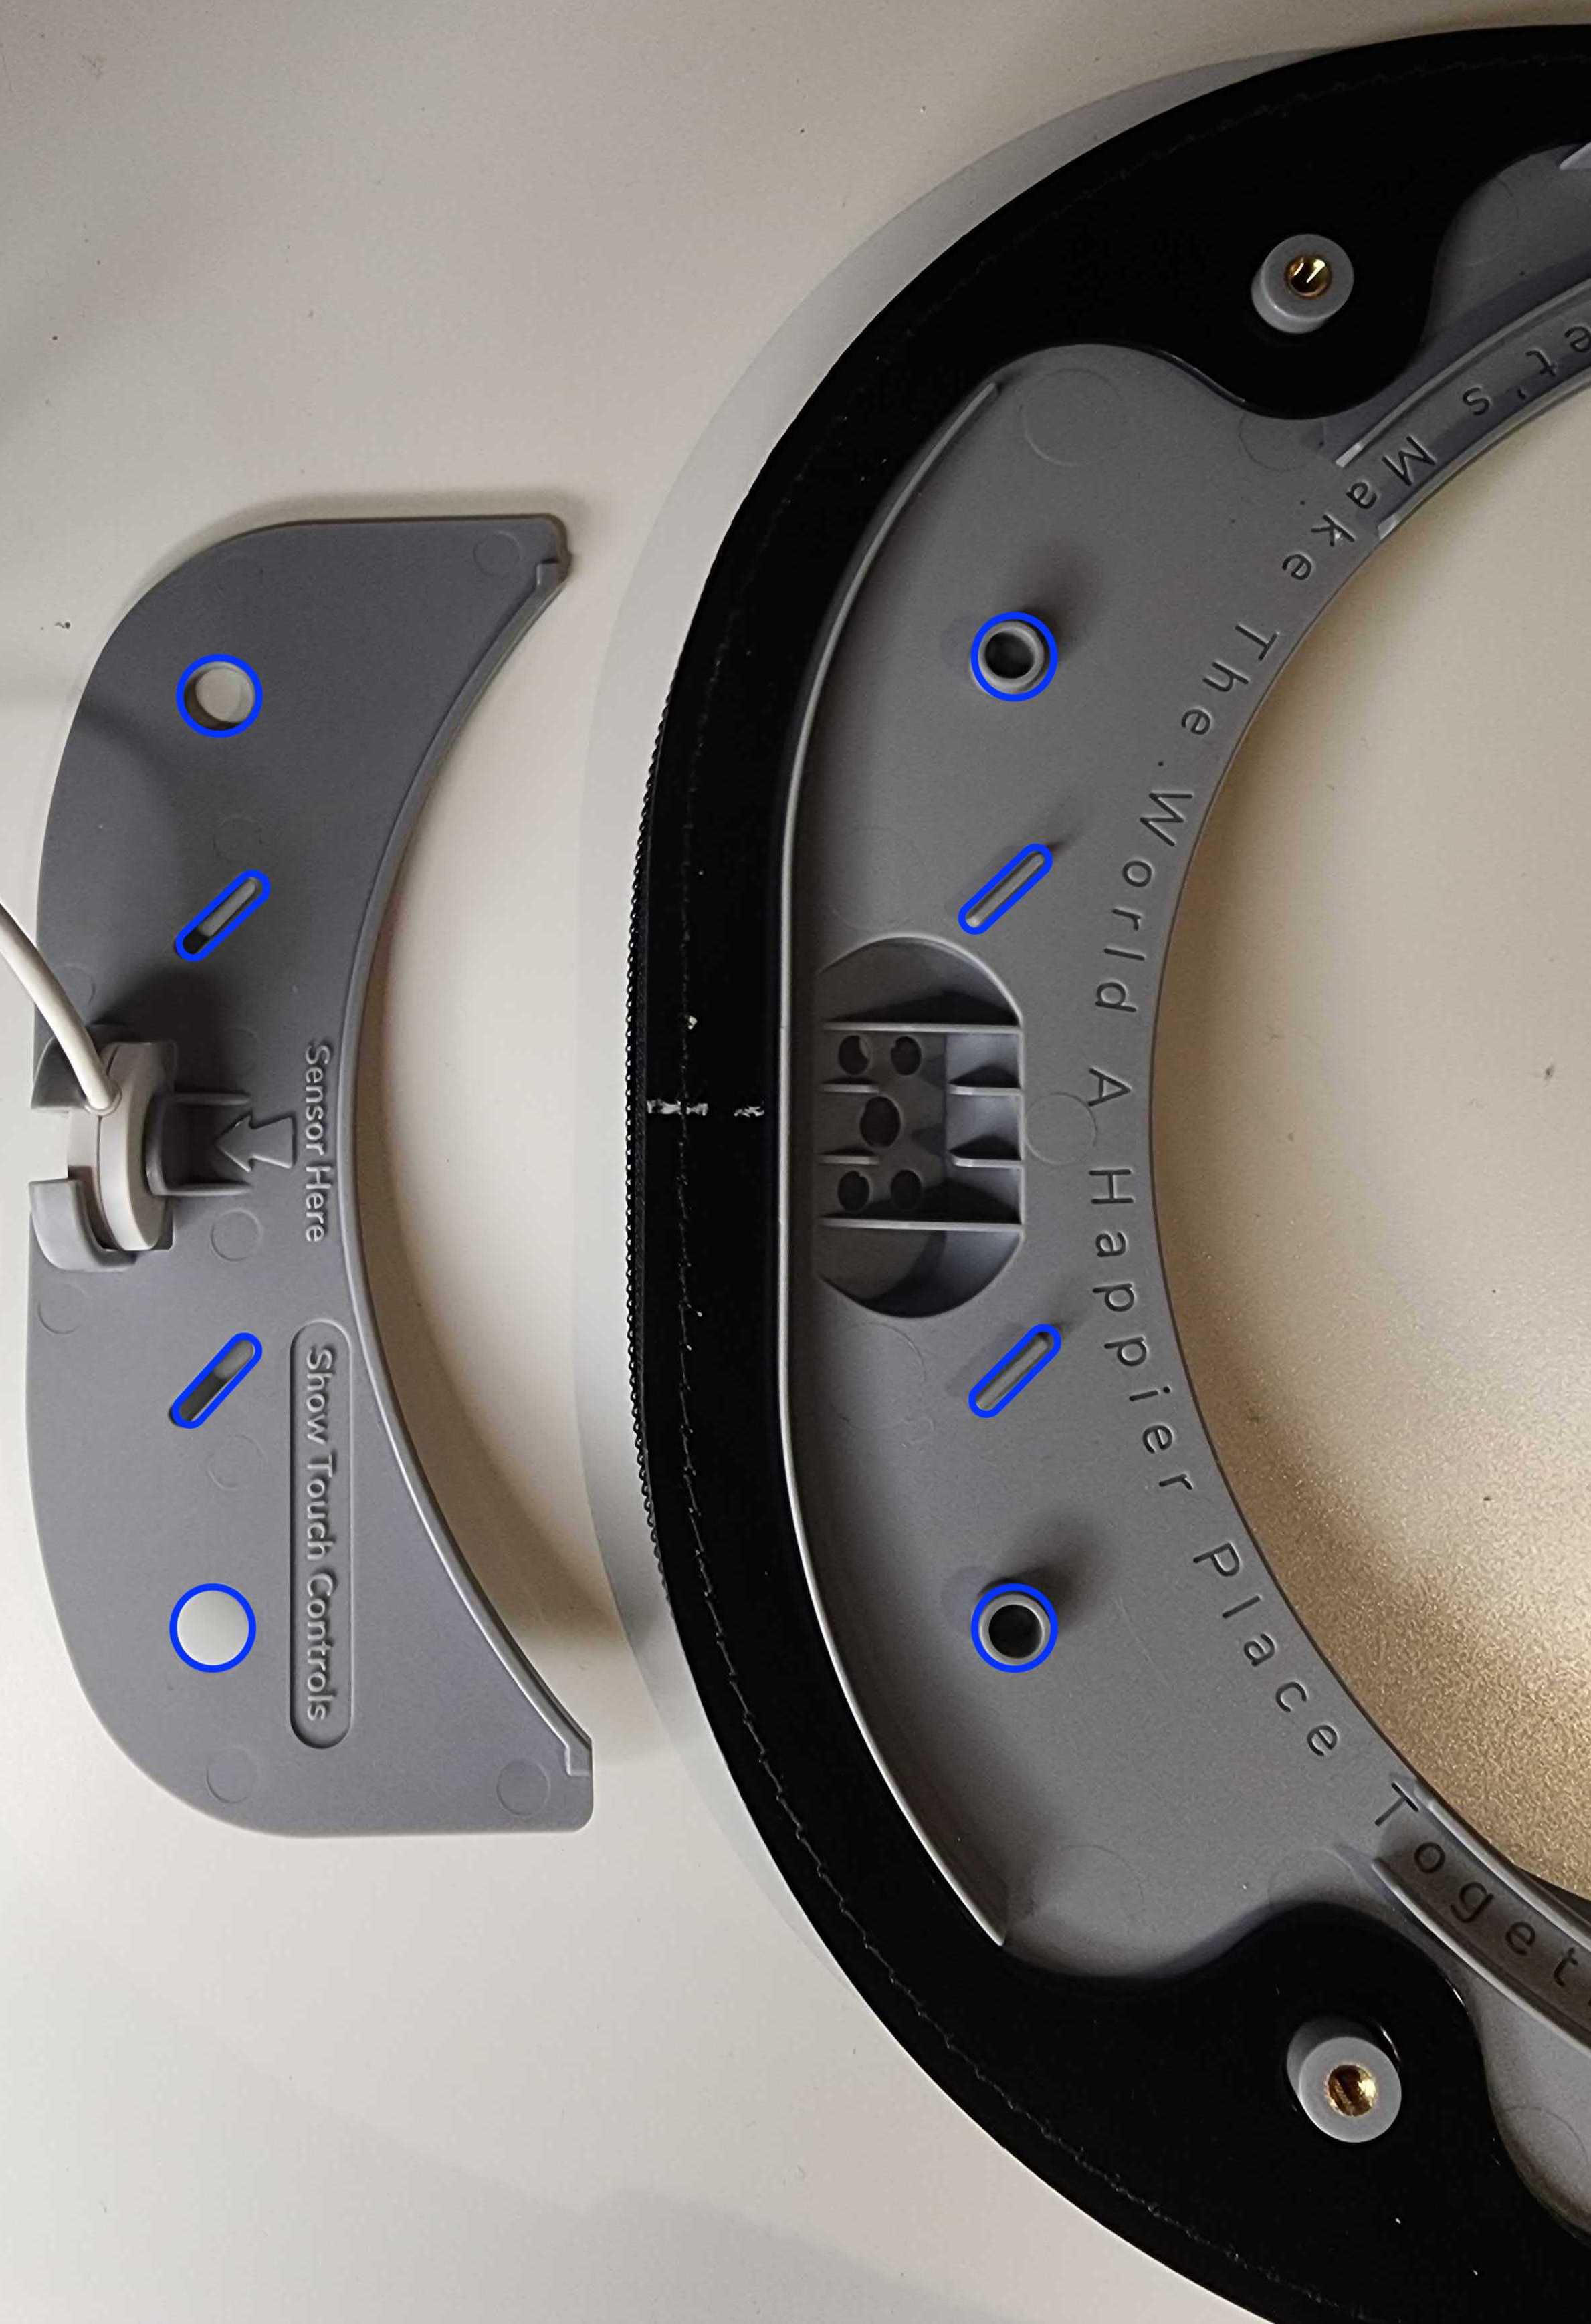
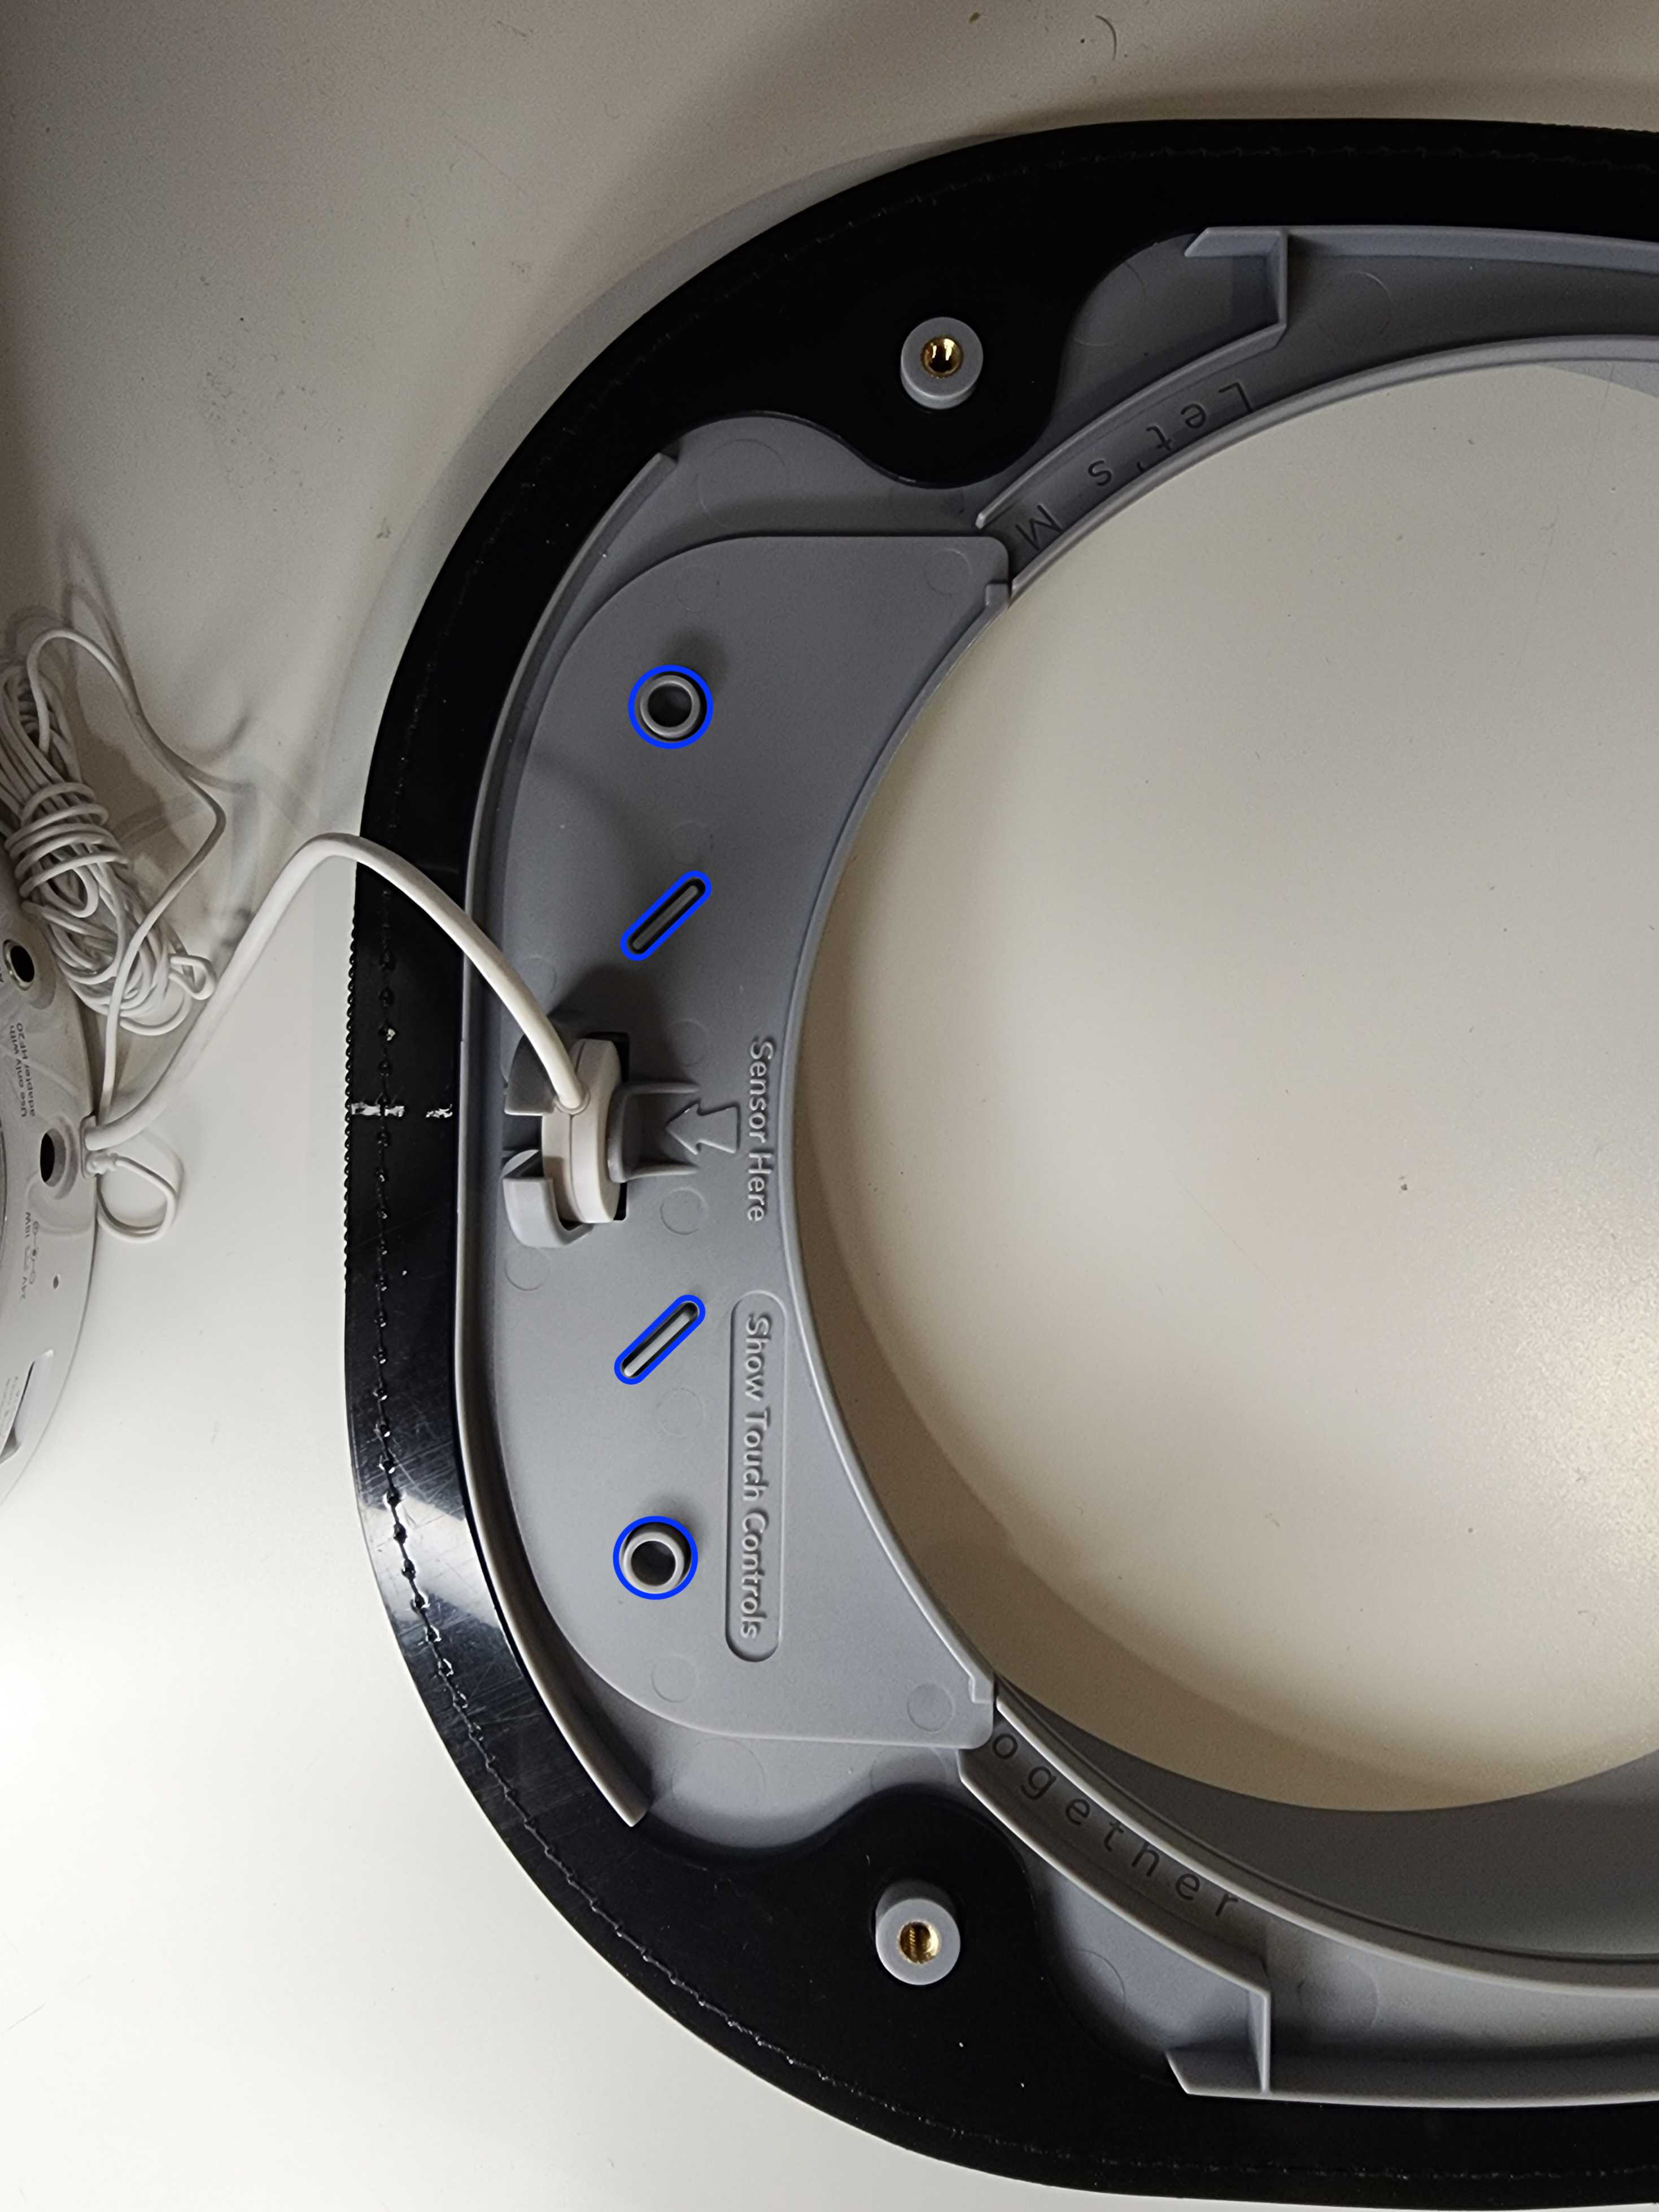
Tip: The control cover will sit under the light in this position. To make sure this cover is sitting correctly, some holes match the pegs on the front shell. See below.
Step 3:
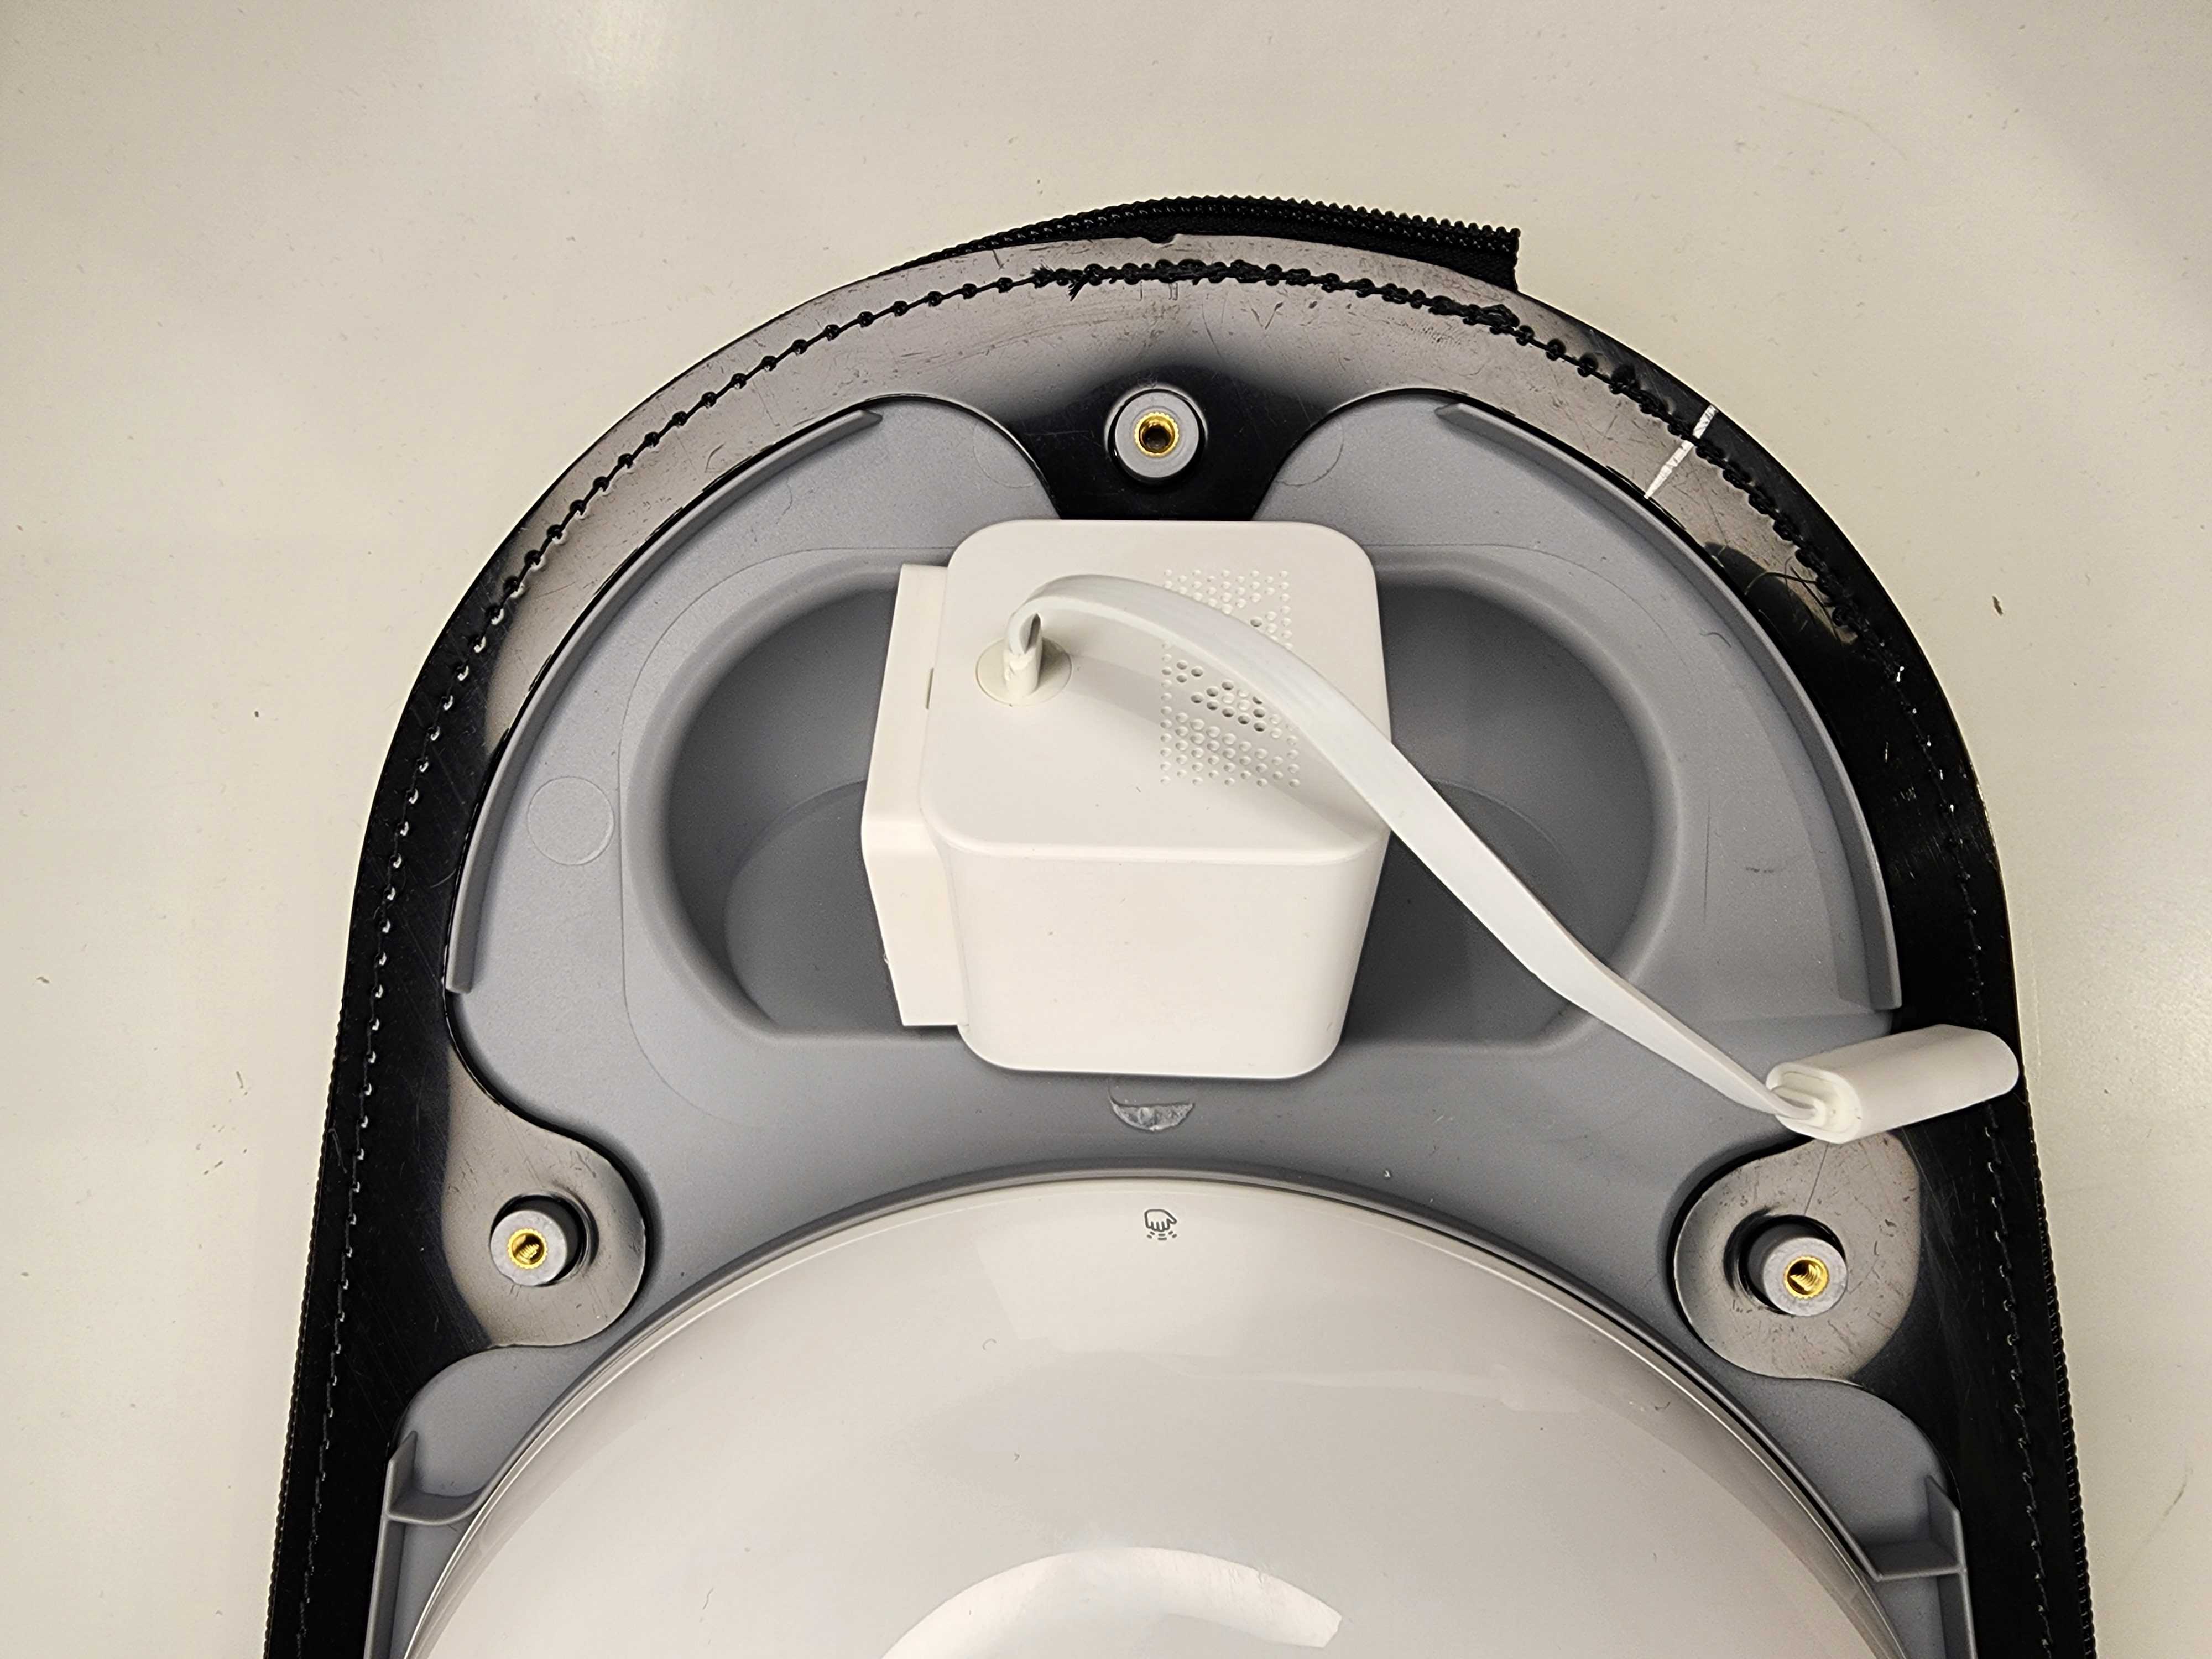
We can now put it on the back of the Tech Hub. Make sure the camera is sitting sideways and its power cable is fed through the hole next to the Cubby logo.
The shell should sit flush when put back together. Screw the five (5) thumbscrews back into the Tech Hub to secure everything together.
Step 4:
Zip your Tech Hub into the side of the Cubby and lock it into place. The electronics will reconnect to their apps once you plug their power cords in.
Feel free to also reach out to our Cubby Care Team for further assistance. Send us an email at support@cubbybeds.com — we're here to help!

